Hello, I blog!
I share all my sporadic and toilet thoughts in here, because I am random like that.
Tee-painting in progress
I’ve been wanting to do this since forever but have been holding out for years. One, because I had little or no faith in my painting abilities – especially when it comes to fabrics. Two, I didn’t have any good-quality plain tees on hand and was too lazy to head out to source for one.
So, when a plain white tee (of very decent cotton quality) landed on my lap (thanks to the sample t-shirt sourcing done by my work company a coupla’ months ago), it was a painting opportunity screaming for my attention.
Additionally, when I spotted a giant ‘Sales!’ banner at Spotlight – Singapore’s largest fabric and craft store – the opportunity began screaming even louder. I managed to get DYLON black fabric paint at 20% off. Whee.
I began by manually drawing out letters using a blunt pencil. (Yes, manually. No stencils were involved here because I had none. I measured the dimensions of the tee like crazy to ascertain where exactly I wanted the letters and that they were positioned symmetrically. I’m that anal. :P)
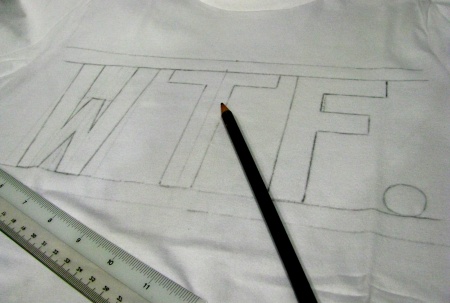
Drawing out the letters.
If you intend to do a similar tee but is too lazy to draw out the letters manually, you can create your own stencils by printing out letters on light cardboard and cutting them out.
And yeah, I know your eyes are boggling right now at the choice of letters on the t-shirt. I’ve been wanting a t-shirt with “WTF” printed on it since forever and I can’t seem to find them anywhere. So I decided to make my own.
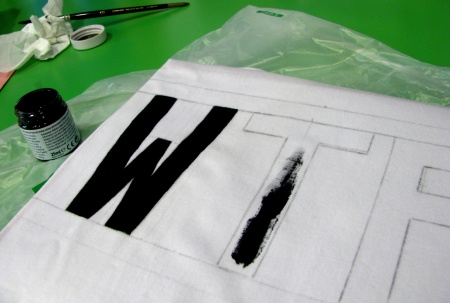
Painting in the letters with fabric paint.
Following which, I filled in the letters with a soft brush dipped in the fabric paint. Because I wasn’t using stencils, this was pretty tricky especially when it came to ensuring the edges of the letters were perfectly straight. (Well, they weren’t in the end. But the very slight jaggedness was not very noticeable unless you looked very closely.)
Thankfully, I had decently steady hands so the outcome turned out pretty well.
Leaving the tee out to dry.
I left the tee out to dry for approximately three hours. Actually, the required drying time was much less than that but I just wanted to be sure. (First time painting a t-shirt, remember? Plus, I was really worried I might screw up something – although everything was pretty smooth thus far.)
After drying, iron over the letters (to set the paint permanently) with an electric iron on the highest possible heat setting, and a cloth placed over the letters (no direct heat contact here – the last thing you’d want is a t-shirt on fire!). The instructions on the bottle of fabric paint called for 1-2 minutes, but I did this for 4-5 minutes. (Weeeell. Just wanted to be sure again.)
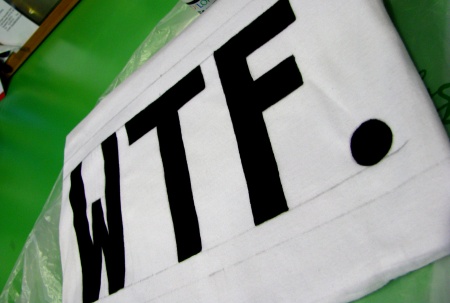
Thus, behold!
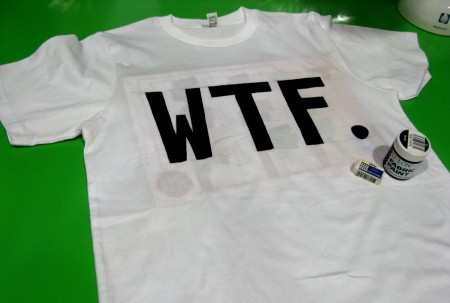
The end product!
Oops, pardon that magazine placed beneath the words. I wanted to separate the painted side from the back of the tee for a while more … just to be sure. (Yes, again. Hahaha.)
Now that the tee painting is complete, it’s time for the last crucial step – putting the tee through its first wash.
I really hope the fabric paint behaves the way it is expected to and stays on the t-shirt.
I do not want to end up with a blackish stained, pseudo tie-dyed shirt to account for the amount of (extremely anal) work I’d put in!
Customizing my own pants!
I recently acquired a pair of plain black cotton track pants for the looong plane journey to Vancouver next month. (Apparently, jeans aren’t the best for long plane rides as it may lead to deep vein thrombosis.)
The pants was a little too plain for my liking and so I decided to jazz it up. Went around collecting materials galore – plain black cloth, shoelaces in brown and black, silver metal fasteners, golden buttons, and thread reels in a myriad of colours.
I initially wanted to do some contrast threading. Say for example, electric blue threading on the black-based pants. However, I threw that idea out of the window as it’d be difficult to match. Eventually settled for neutral colours.
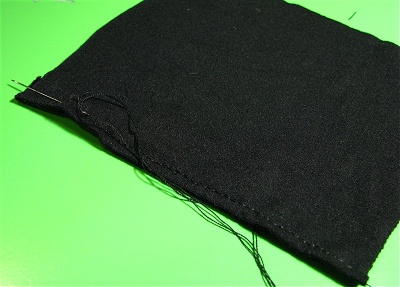
Creating the pockets!
I started off by creating two little black pockets – one for each side, attached to the front of the pants at different heights.
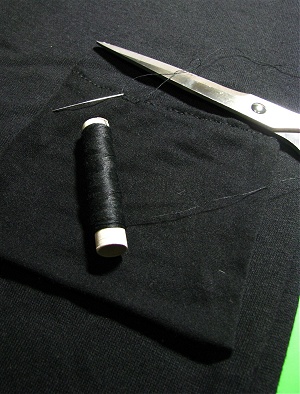
The pockets were created from black squares of scrap cloth with the edges sewn in as shown. (Yes, folks! Everything was hand-sewn. The total process took about two hours in total because I am such a n00b at stitching. But I gave it a shot anyway because it’s really fun to customize your own stuff!)
The black pockets were then attached to the pants. Yes, with black thread. Hurhur, how boring. (; It’d be fun to do something with contrast threading in the future. Perhaps a t-shirt. I’ll see how it goes.
Attaching the pockets!
This was then followed by little golden buttons for some pizazz! (Not to mention how I was getting tired of seeing black, black, black!)